PCB Board Testing - The Tools And Methods
With over 40 years of experience in this industry, we at Avanti Circuits are here to provide you with your PCB-related needs. When we manufacture printed circuit boards we always test them to make sure that they are of the highest standard. This is just one of the reasons why we have become one of the most recognized PCB manufacturers in the United States.
We also understand that many people wish to test PCBs at home. Below, you can find a brief guide that will help you to do just this. Our guide can help you to effectively test PCBs as and when you need to.
Gathering The Right Tools For The Job
Before you test a printed circuit board, it makes sense for you to gather the right tools together. The very basic tools that you will need are as follows:
- Signal Generator/Power Supply
- Soldering Iron
- Multimeter
- Magnifying Glass
Each of these tools is highly useful when testing PCBs. They can help you to find and solve a number of problems such as faulty components, short circuits, and broken traces. You can begin testing with most of the tools listed above however, you may run into situations that require different tools.
Having access to the tools listed above will make testing your PCB much easier. It’s important to note that some of these tools may not be necessary for every PCB testing situation and that additional tools may be required depending on the specific PCB and the nature of the testing needed.
How to Test a Circuit Board
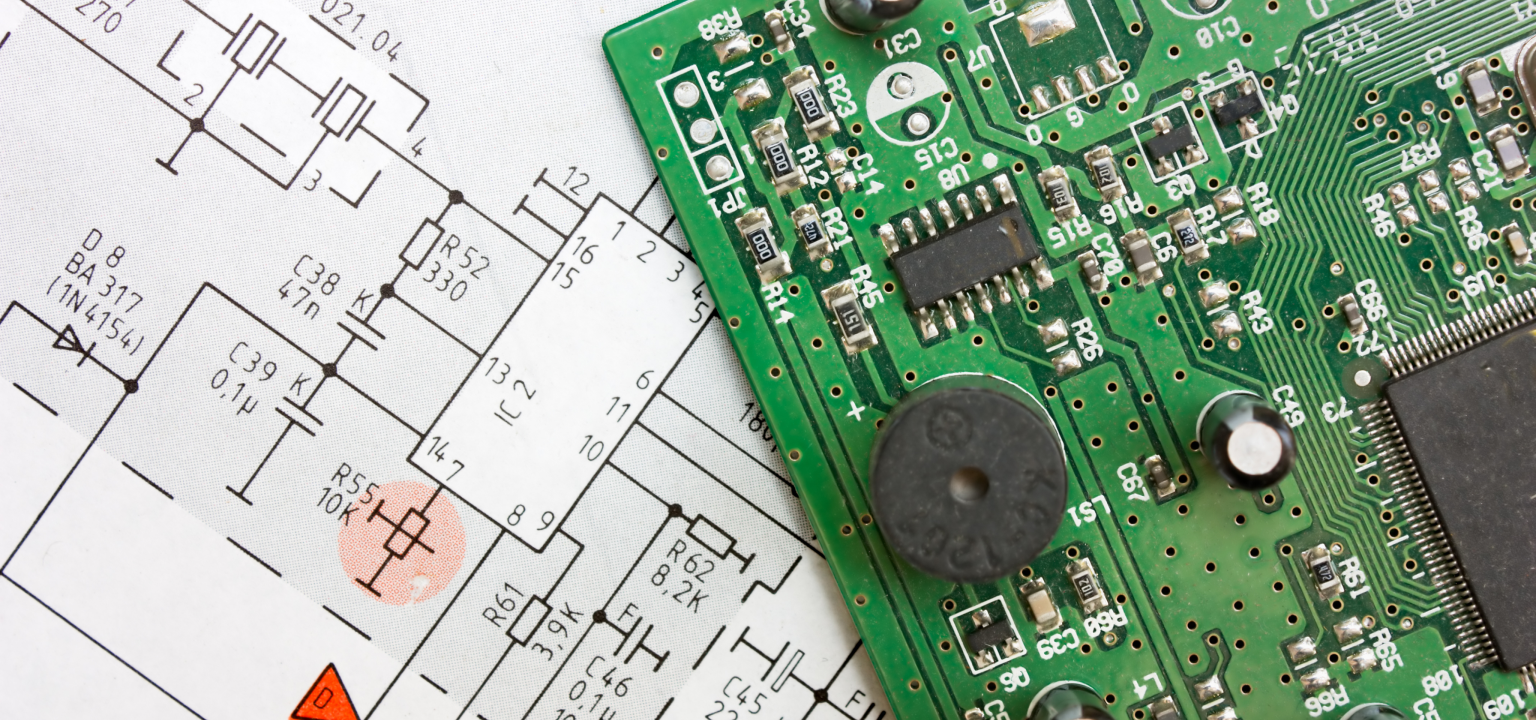
The next step involves testing the circuit board. One of the first things you should do is to visually inspect your circuit board. While you may be tempted to check your PCB in other ways, a visual inspection can potentially highlight a few issues right off the bat.
There may be some very obvious reasons as to what has gone wrong. Relying on your vision is a good way to discover whether there are any broken traces of faulty components. Should your PCB have already been used and damaged by a surge in electricity, there will be a few signs.
One of the first things you should look for is an area that has been burned. For example, the I/0 or the power supply module may be burned. Also take a look for any blown capacitors, broken traces, and cracked ICs. It may also be possible for you to uncover damaged components by simply working out where a burned smell is coming from.
Try to take your time with the visual test. When you do, you’re more likely to uncover something. At first glance, all may seem well. However, if you have an untrained eye or you glance over a PCB all too briefly, you may fail to spot an issue. Take your time. Visually inspect as much of the PCB as you can and you’re more likely to discover what is wrong. Don’t be afraid to take another look, even from a different angle as doing so can help.
Check The Power Module
If all of the components look OK, it will now be time for you to power up your PCB. take a look at the power rails’ voltage using a multimeter. Be sure to read the voltage regulator’s input and output, note that they should show the expected values
Take a look at the fuse to see if the voltage that’s measured is 0V. If the fuse breaks after you have powered the PCB it means some of the components have shorted and they are draining a lot of the current.
If you have a voltage of 0V or less than Vcc, it shows that there’s a short circuit. As a result, the damaged component will begin to heat up very quickly. If one component is giving off a lot of heat, don’t touch it. Remove any of the overheated components and check to see if the voltage is the expected value once more. If you can see a voltage that’s still different from the expected value there may be more damaged components. Remove any damaged components.
If there are no damaged components, look out for some broken traces instead. Take your multimeter and use it to help you narrow down where there’s some discontinuity.
Check The Ports
The next step is for you to check the input and output ports. One of the most common points of failure is the I/0. when an I/0 is damaged it is unlikely to shut down all of the circuits. However, what usually occurs is an issue with the whole circuit board.
If your I/0 is protected by varistors or diodes, make sure that they are working well. If they are working well, it’s likely that the microcontroller or the logic IC is damaged. Unfortunately, there is no relatively easy way for you to check whether these are damaged or not. All you can do is to replace them with parts that work.
As soon as you have checked the input and output ports, it’s worth checking the communication ports. Ports such as the RS484 and ethernet tend to have a high risk of failure. When there is a communication failure it’s worth checking for cracked or even burned communication ICs. you should also check to make sure that no protective components such as Zener diodes are damaged. If you find that a Zener diode is indeed damaged, replace it.
Why Is Testing Needed?
Every printed circuit board contains a lot of components and electrical parts. Some of these electrical parts can be very complex. Therefore, it is hugely important that every printed circuit board is tested. This is irrespective of whether the PCB is one that you put together yourself or one that has been purchased elsewhere. Every PCB should be tested for errors or faults that could potentially cause some or all of the board to malfunction. As a result, every single component that’s located on the printed circuit board should be both monitored and tested especially before being implemented into a product or system.
Testing a circuit board can take a lot of time. However, there are a few things that you can do to help. Create testing pads for critical signals and voltages. When you do, you’re a lot less likely to short a trace with your multimeter probe. Also, consider adding LEDs that show whether the power is on or off. When you add LEDs they can potentially help you to find a problematic area much more quickly and easily.
Here at Avanti Circuits, we can help you with all of your printed circuit board needs. We can supply you with a PCB that is full of components or completely bare. Additionally, we can aid you to design a PCB to use in your products or for your client’s products. With over 40 years of experience in the printed circuit board industry, we can get exactly what you need. We provide hobbyists and engineers all around the world with printed circuit boards and we can do the same for you.
Contact us today should you wish to discuss your PCB-related needs. You can reach us at (602) 866-7227.